
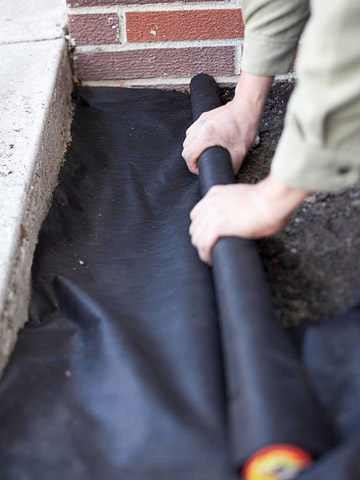
Line your area with landscape fabric before laying your brick and it will help to prevent any weeds from growing. Then, put down about a 4 inch layer of coarse gravel over the top of that.
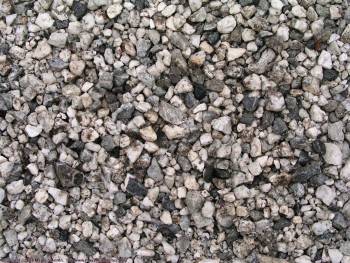
Lay down your gravel and then put a 1 inch layer of sand over the top. Pack it down. Once that is even you can lay your brick.
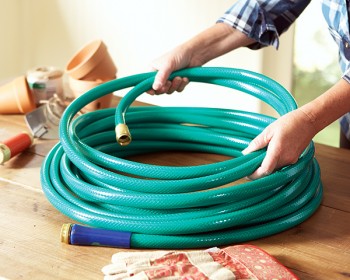
To make rounded edges, you can use a piece of small diameter PVC pipe (as long as it’s flexible) or a garden hose as a guide to mark your pavers so that they can be cut. You can draw the lines on with chalk.
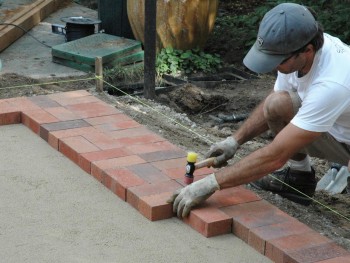
Lay down your bricks (after choosing the design pattern you would like to have) and start from the corner. From there, leave ¼ inch of space between each of the bricks.
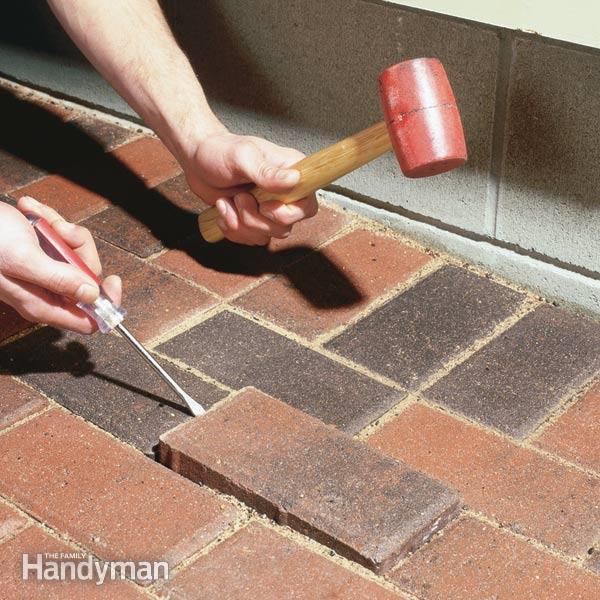
As you go, make sure you use a leveler so that you don’t have a bumpy pathway. If some of your bricks are too high, just use a rubber mallet to even them out.
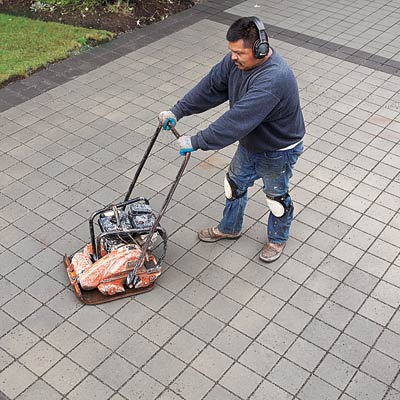
After your installation is complete, run the plate compactor over the pavers. Doing this will help settle the pavers into the bedding sand so that you have a flat surface. Run the plate compactor over your bricks at least 3 times while going in different directions.
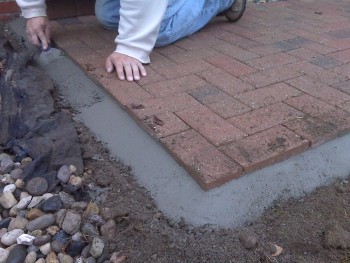
For an edge restraint, concrete is the most cost effective choice. You’ll want to dig at least 6 inches deep and then apply the concrete into the trench with a trowel. Make sure you press it in place so that no air gets trapped.
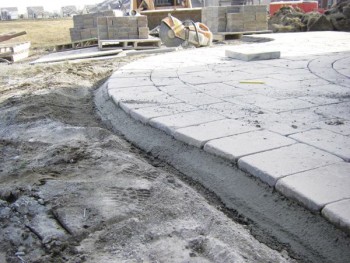
If you use concrete edges, slope them downward, away from the pavers. This will stop grass or sod grass from coming up the edge of your paver project and it will also help your pavers to be stabilized.
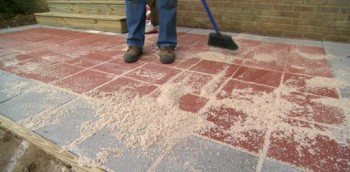
Spread sand over the bricks to fill in any gaps. Then spray it down with water and add more sand, and keep repeating until everything is filled in.
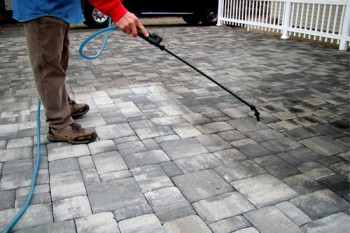
Seal the pavers with a concrete sealer to reduce small insects or weeds from coming in between the bricks. You will be so glad you did this in the long run.

Leave a Reply