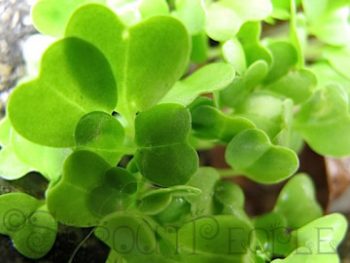
If you love a good salad, you’re probably familiar with micro greens — those tiny little leafy greens that many restaurants add into salads or salad bars. They’re sweet, fresh, and super good for you. If you want to grow your own micro greens, it’s easy! Here are 11 tips and tricks.
1. Use a Seed Mix
You can get mixed varieties of micro green seeds just for this purpose. Find something that looks good to you and go for it.

2. Plant in the Right Place
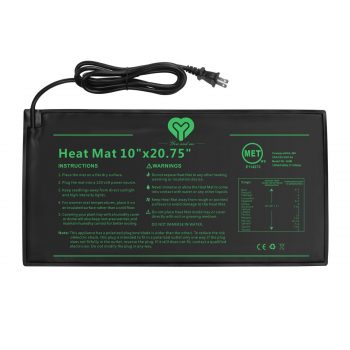
Make sure your micro greens won’t be exposed to freezing temperatures. You may decide to grow them inside, but pick a spot with good ventilation and even a little moisture (you can spritz them too). Outside, use a heated greenhouse or heating pads meant for growing. If you never get freezing temperatures where you live, you can use a cold frame or unheated greenhouse.

3. Grow Them Thick
When planting, make sure you lay enough seeds in each planting well to grow your micro greens thick. This way, they’ll offer support to each other as they sprout and grow.
4. Tuck Them In
Don’t cover the micro green seeds with your soil (look at your seed packet directions, though). Just lay your seeds with good coverage (see above), then press the seeds down firmly, but gently into the soil. The seeds need to make good soil contact to get the nutrients they need.

5. Water From the Bottom Up
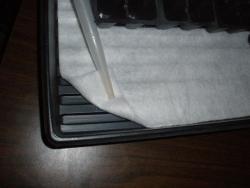
When you first lay your seeds, you probably want to give them a light sprinkle from the top. Until the seeds germinate, this is how you’ll do it. However, once they start to germinate, use bottom watering by placing your seed tray into a larger tray, and add water to this tray (you can also use cotton flannel). After adding water, give it about 20 minutes. Then pour out any leftover water. If your little plants are getting enough water, they soil will be evenly moist. Watering from the bottom reduces the risk of mold and disease.


Leave a Reply