
Have you ever tried growing beans? I mean, beans that aren’t green? If not, you’re in for a treat. Black beans are delicious, nutritious, and versatile. They’re high in fiber, iron, protein, folic acid, and antioxidants. And if you know what to do, they’re quite easy to grow as long as you have a long enough season. They come in both bush and pole varieties. Pole beans generally yield more, but will need something climb. Bush varieties don’t require climbing supports, but you might not harvest as many. Which type you choose is entirely up to you. Let’s look at how to grow them.
1. What You’ll Need
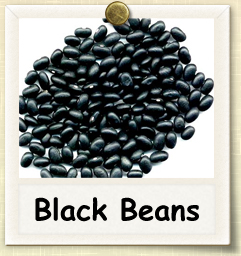
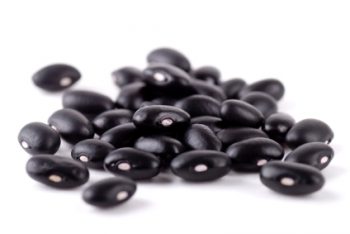
To grow black beans, you’ll need well-drained soil of good quality (preferably with added inoculant). Other than that, all you’ll need is a full-sun garden spot, some seed, a water source, and something to support the vine (if you’re using that variety). Black beans usually do better if you don’t transplant them, so seed is the best way to begin. You can grow black beans in pots, but you’ll need several plants per person to get a good harvest, and that’s a lot of pots to plant and maintain.

2. Before You Plant
Plant after your last frost, and soak the seeds overnight right before planting day. For pole varieties, leave 3-4 inches between plantings. For bush beans, plan for 6-8 inches. Plant about one 1 inch under the soil. Germination usually works very well, so don’t plant too many more seeds than the number of plants you’d like.
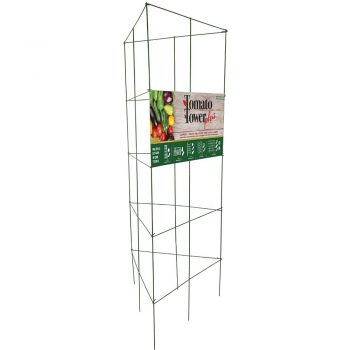
Pole variety black beans can grow to several feet in height, so put a trellis or pole in place right when you plant (putting them in later may damage roots). Keep an eye on the starts as they grow — you may have to tie the vines onto the support for proper grip.
3. After Planting
Water your seedlings and plants regularly, but don’t overwater. If the roots stay wet for too long, the plants will suffer. Give the soil a chance to dry a little between waterings. As for fertilizer, use low-nitrogen varieties (beans make their own) to prevent a low bean-to-foliage ratio. You really may not need fertilizer at all, especially if you use inoculant. Also, be careful with any digging. Black bean plants have shallow roots that could easily be damaged.
4. What Can Go Wrong
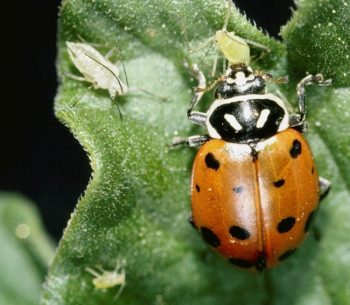
Bean mosaic virus can be an issue, but there are resistant varieties of seeds available. This disease causes stunted growth and curled or puckered leaves, and is spread by aphids. To keep aphids under control you can simply spray your plants with a hose, but it will only be effective for a few hours at a time. The best way to control aphids is to introduce lady bugs to your garden, and lots of them. Other bugs, such as beetles, flea beetles, or leafhoppers can be sprayed with insecticide or removed by hand.
5. Harvest Time
After 100-140 days, you’ll be able to harvest your beans. They are actually left on the vine until dry, so knowing when to pick is easy. The pods will change to yellow, dry out, and might even split open when ready. The beans should be hard at this point. If you’re expecting rain around harvest time, you can pick them a little early and let them dry the rest of the way indoors; just spread the pods out in a warm area with good ventilation until they’re completely dry.
If you’re growing a small crop, you can remove the pods by hand. This takes time, so for large harvests, it’s easier to dump them all into a cloth bag or pillowcase and step on the bag or bang it against a wall several times. You won’t hurt the beans, but you’ll separate the pods. That way, you can just sift them out (let the kids help). Dry black beans can be stored for a year without any problems, preferably in an air-tight container. Enjoy!


Leave a Reply