
When you hear the term “gravel garden” you might think it strange. But really, a gravel garden is a water-wise space with drought-tolerant plants with gravel in between them. It doesn’t mean nothing but gravel — but it does all add up to anything but boring! Gravel gardens save water and maintenance, and best of all, they look fantastic. That’s why the next big thing! Here’s how you can install one yourself.
1. Prepare Your Spot
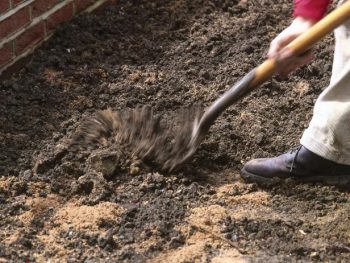
Dig out the area and remove any weeds. You’ll want to blend in some well-aged compost or manure. And if your soil is heavy, add some grit or coarse sand for proper drainage.
2. Lay Weed Barrier
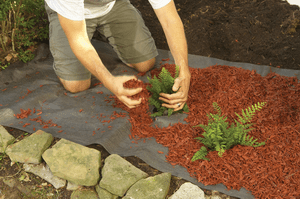
You’ll need to cover the area in weed-preventing membrane (purchase my personal favorite here!) Cut it to fit the area and generously overlap any multiple pieces, joining them together securely. Pin your membrane down well.
3. Position Plants
On top of your weed barrier, position your plants where you want them. If you’re using container-grown plants, pre-soak them in water for at least an hour before planting. Make sure each plant will have enough to get fully grown in that spot, then use some sharp scissors to cut a large criss-cross shape in the spot each plant will go. Fold back the flaps, dig your hole, and plant. Make sure you’re following the directions for depth.
4. Tuck Your Weed Barrier
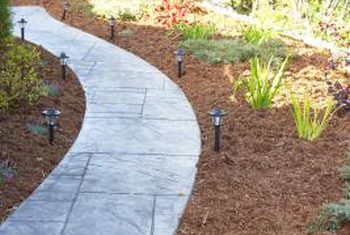
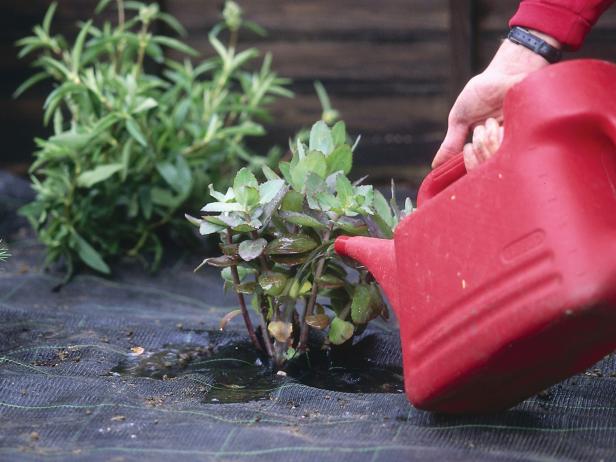
After planting each plant, tuck in your weed barrier around the stem. If needed, use landscape pins to secure it to the ground and close any gaps. Just be careful not to damage your roots. Now give your plants a good watering.
5. Lay the Gravel
With everything planted where you’d like it, it’s time to lay your gravel mulch. Aim for about 2-3 inches thick, and be generous with it so your weed barrier doesn’t show. Level it off with a rake and water your plants regularly until they’re well established.
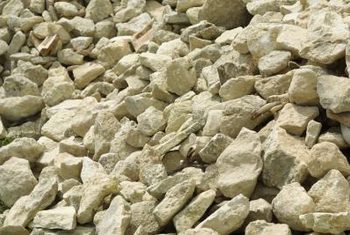

Viva la gravel gardens!