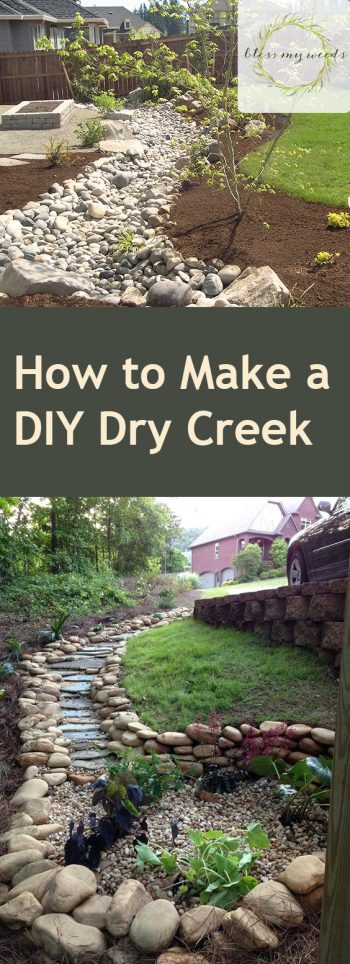
If you want an interesting landscape but don’t want to add features that require a lot of water, consider installing a dry creek bed. It provides a soothing atmosphere and plenty of texture, but it may not need a drop of irrigation. Need some inspiration? Here’s how to create a DIY cry creek bed in your own front or back yard.
1. Scope & Scoop it Out
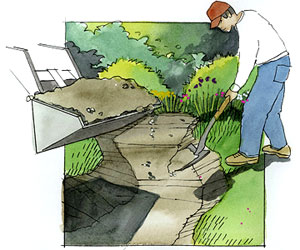
First, choose the area you’d like to use for your dry creek bed. Decide what curves and overall shape you’d like your dry creek to be. Then, take some measurements. Once you’re ready, you’ll need to excavate — or “scoop” the top 12 to 15 inches of soil and grass using a small backhoe or old-fashioned shovel.
2. Prep for Filling
Once you have your excavation done and are satisfied with the size and shape, use a tamper to compact the earth and create a flat creek bed surface with sloped sides — like the bank of a creek. After that, lay down some good quality landscape fabric to keep weeds out. Lay it over the entire surface, including the sides.
3. Fill ‘er Up
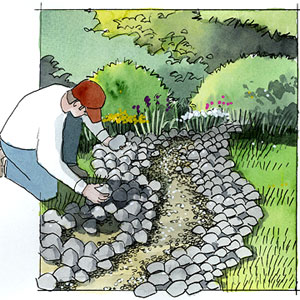
After your fabric is covering every inch of dirt, start filling your new dry creek bed with about 1/2 inch of pea gravel that’s been crushed. Since the crushed gravel has sharp edges, it’ll do a good job of staying put through wet weather or being walked on. After your pea gravel is down, add river rock along your “banks.” Use rocks in varying sizes, from about 2 inches to 8 inches long.
4. Install a Bridge
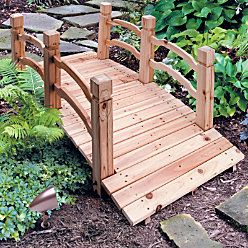
If you want a bridge over your creek bed, you can add one in a number of ways. One common way is to lay four large rocks that are flat on top, two on either side. Then you can lay a bridge of wood or flagstone over the top. Be sure to anchor your large rocks with cement so they stay put through the freeze-thaw cycle. You can also build your own little bridge out of wood. Picture it next to a lovely magnolia tree!

Leave a Reply